TRIP REPORT PHOTOS
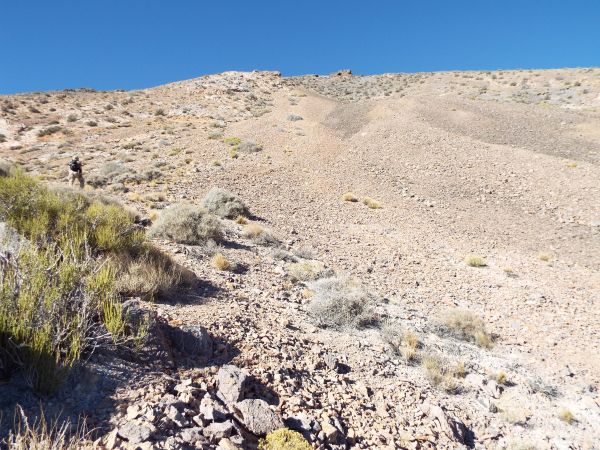
Parking along Hwy 190 to get an early morning start on the hike to Pyramid Peak at 6:15am:

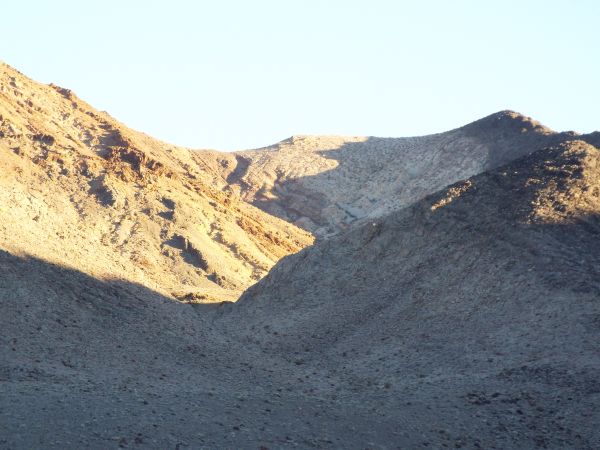
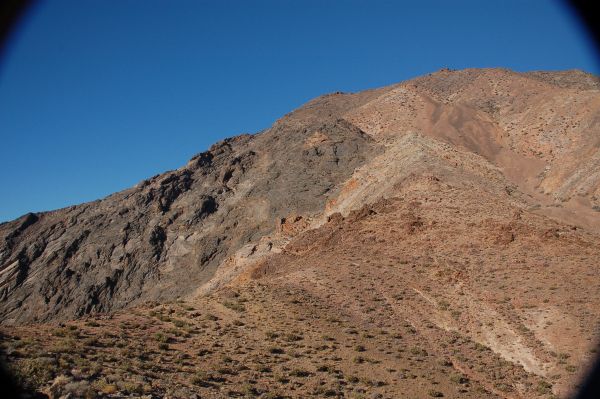
First view looking in the distance to the gap which we would be hiking toward:

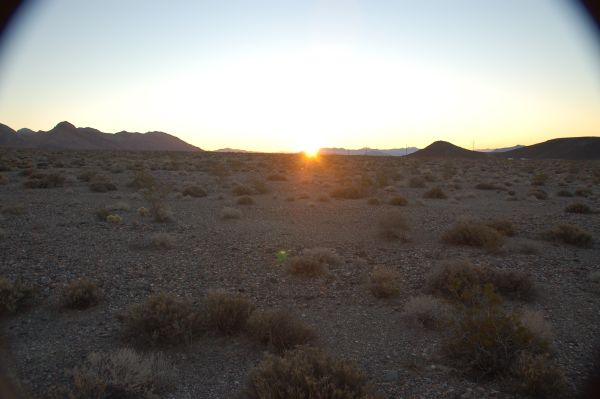
The sun peeking up above the horizon was a welcome sight on the chilly morning:
Staying warm as the sun finally shines upon the Pyramid Peak mountainside on the left:

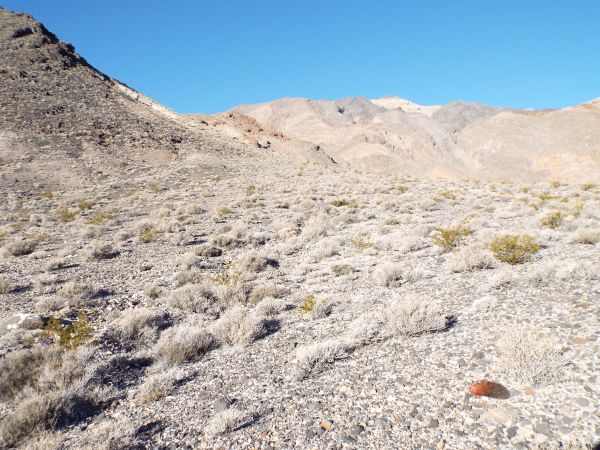
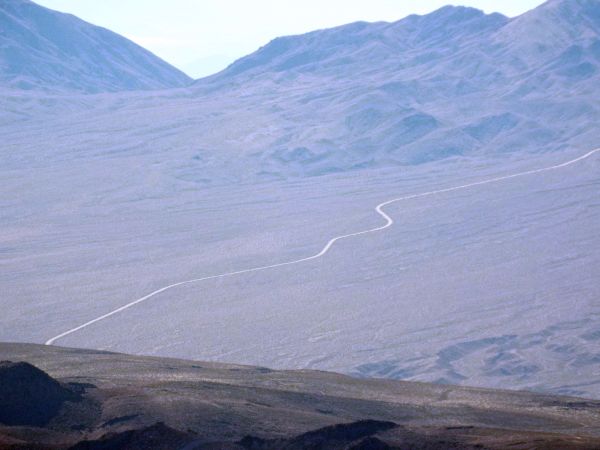
The hike across the flats to reach the gap is about 2 miles long:

Here you can see the faint tire tracks of the old road. We followed this old road almost the entire way to the gap:

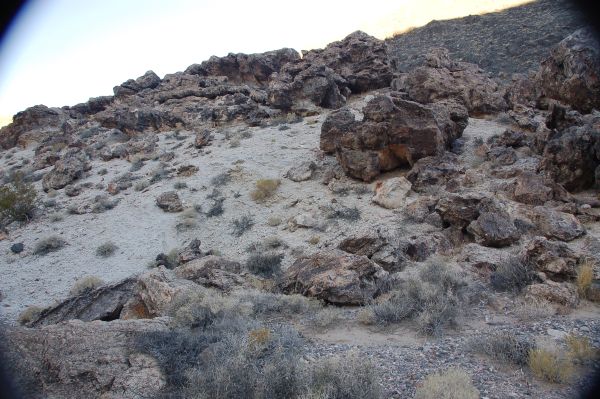
Barrel cactus growing directly out of the rock:

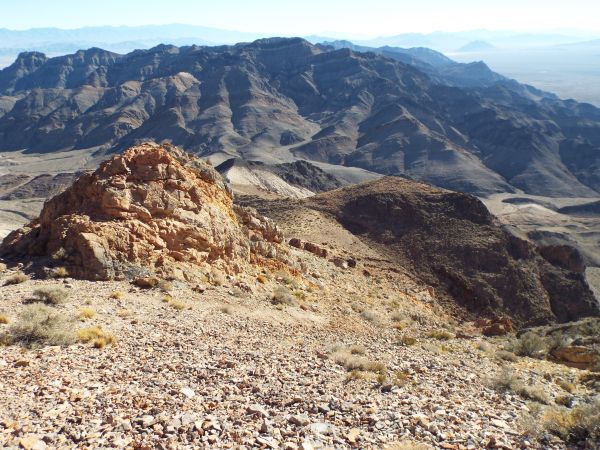
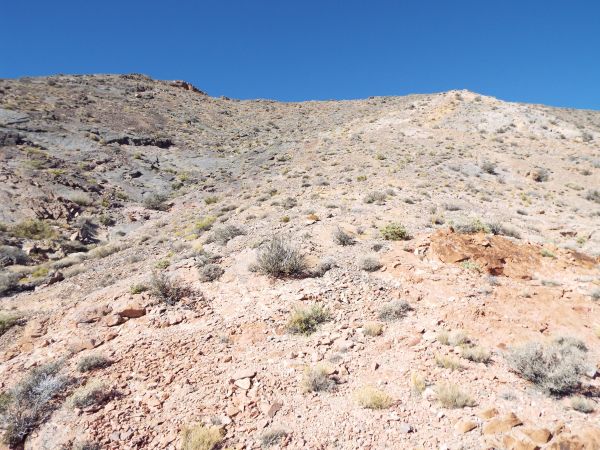
The view of the 1st saddle becomes clearer as you reach the gap and begin progressing through it:
This is the view from the gap looking at the frontside route to attain the 1st saddle. We didn't climb up this route. Instead, we continued circling around to the back of the mountain:

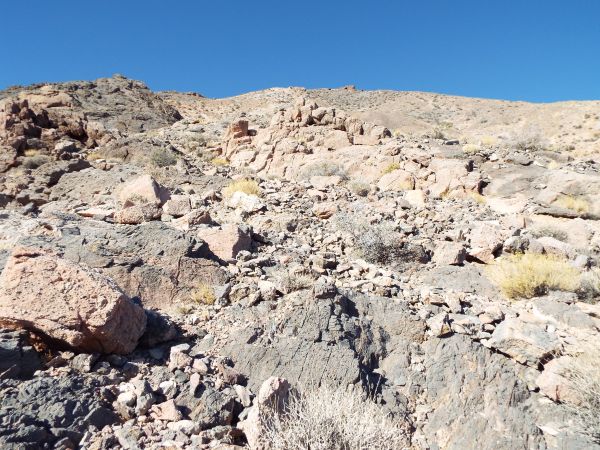
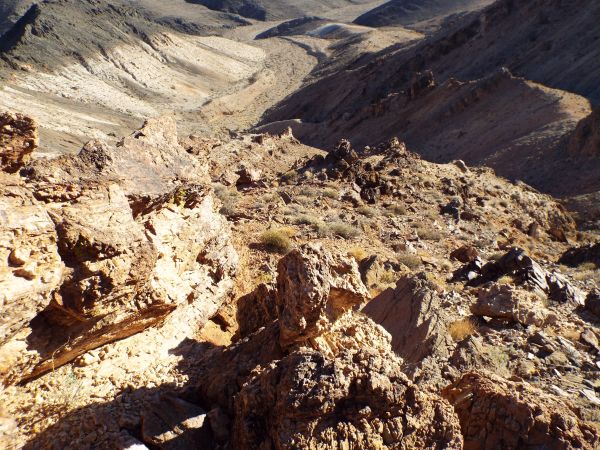
As we continued through the gap, these huge blocks of stone with odd shapes caught our attention:
When we arrived at the back, we had our first view of the actual summit of Pyramid Peak nearly 3,000 feet above us:
We had a long ways to go, but our first objective was to reach the 1st saddle. It doesn't look too difficult from here, right?:

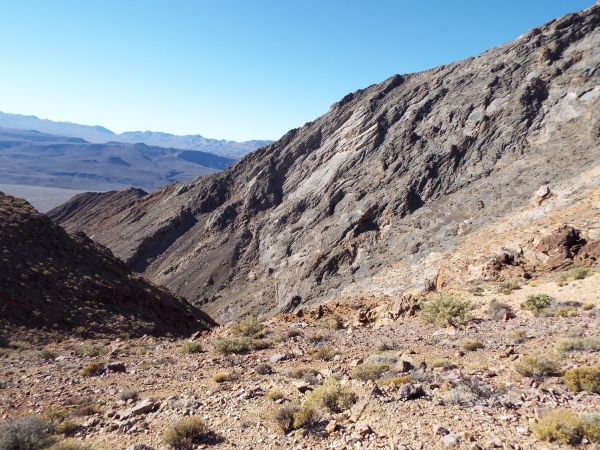
Wrong. We hiked a little farther and got blocked by this giant trench. It seemed like we had made a mistake by hiking up the ridge on the left rather than staying far below in the center gully (out of view on the right):

Looking back, you can see the center gully I'm talking about on the left side. We didn't want to give up the elevation we had gained, so we continued up the hillside instead of hiking back down:

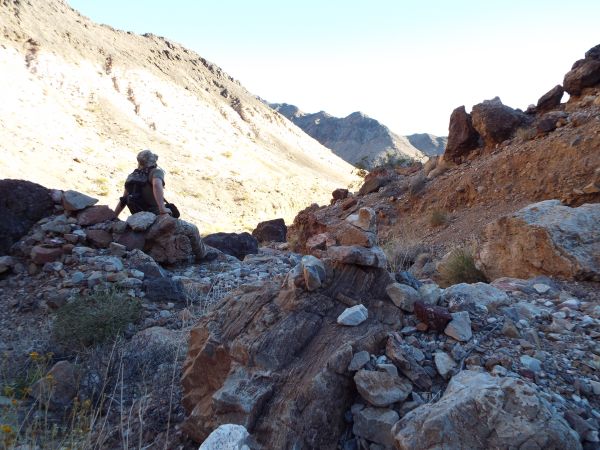
A picture of Steve looking back wondering why this hike was off to such a rough start:

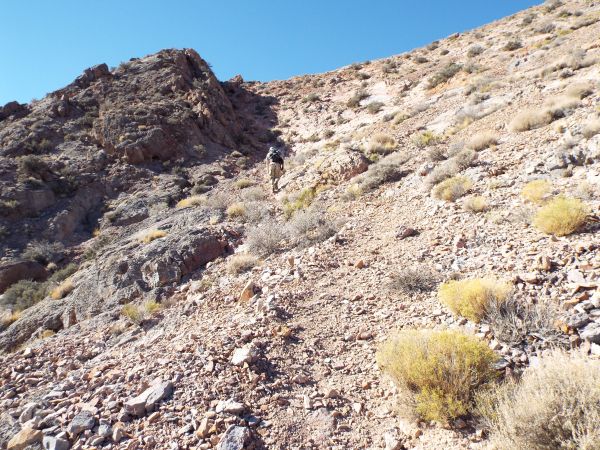
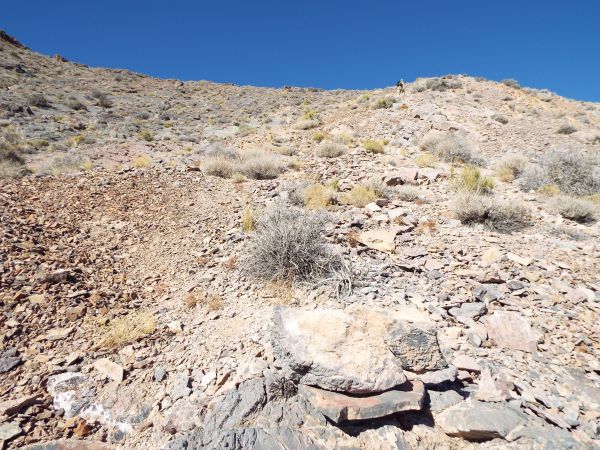
This was the kind of terrain we began climbing through -- steep rocks with endless amounts of loose quartz:
You can see the loose quartz everywhere in this photo. After climbing very slowly up for a while, we began circling around the side of the hill:

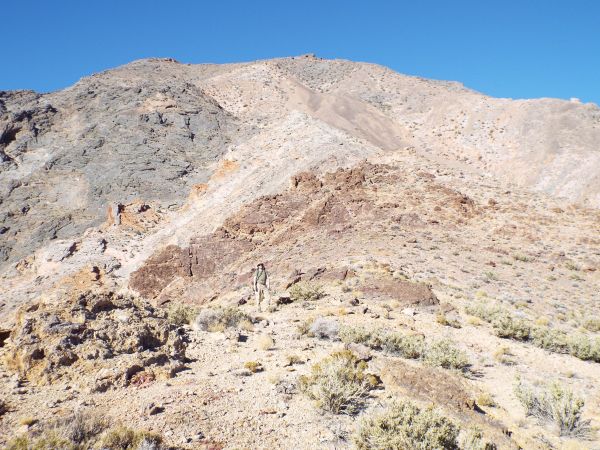
Here we have finally arrived at the 1st saddle:

This is the view looking down the frontside of the 1st saddle:

And this is the view looking down the backside out toward Amargosa Valley:

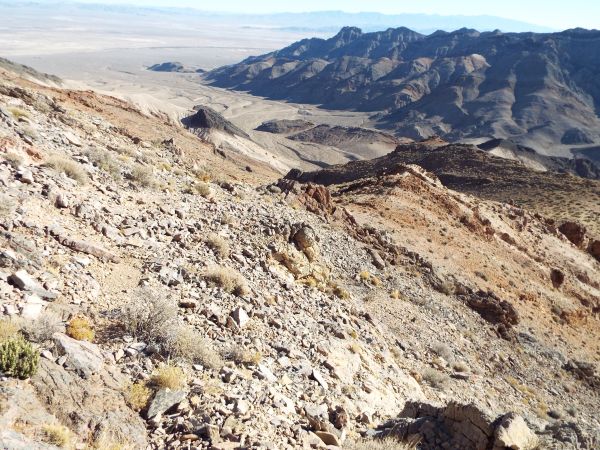
The terrain which we would have to tackle next while hiking from the 1st saddle to the 2nd bump:

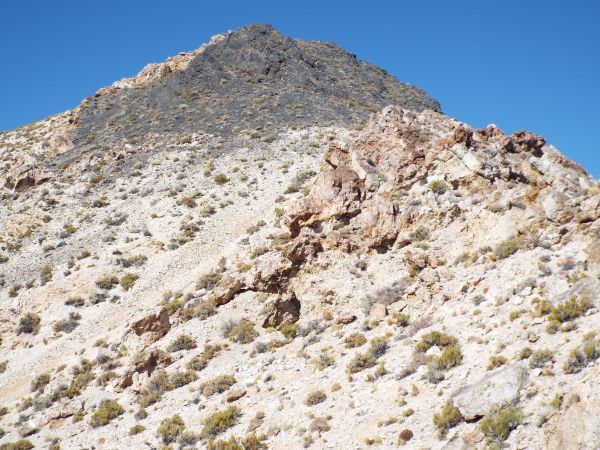
Once again, the final summit of Pyramid Peak was fully visible:

Briefly hiking uphill and then turning back to get a view of the 1st saddle. It is not recommended to climb the ridge directly behind the 1st saddle. Instead, it is suggested to use the frontside (on right) or backside (on left) routes:

Looking back toward the 1st saddle after passing some outcroppings of rock:

As you can see, the terrain in between the 1st saddle and 2nd bump is fairly easy to climb up:

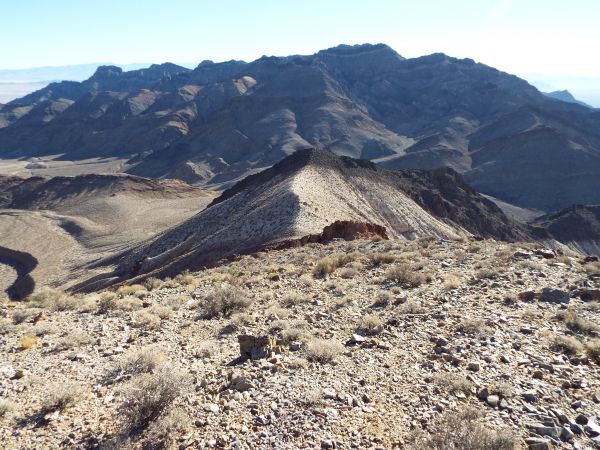
A clear view of the 2nd bump can now be seen in the center of the picture:

Looking back down, the 1st saddle seems much farther away now:
The colorful peak seen here sits on top of the range on the other side of the gap we hiked through earlier. The Death Valley National Park boundary passes through the gap and this peak is located in the Funeral Mountains Wilderness Area:

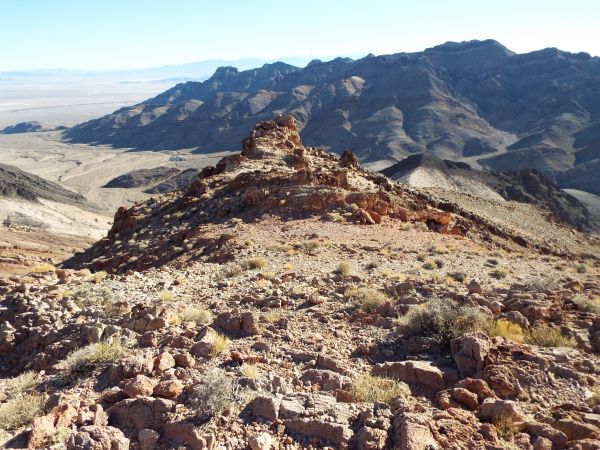
Reaching a small rock outcropping and turning left to head toward the 2nd bump:
Looking back at the rock outcropping and view behind it:
Tobin on his way to the 2nd bump after the trail turned left:

The 2nd bump is this saddle seen here. It is not necessary to climb the actual bump to the left of the saddle unless you want more great views:
Looking ahead to some of the terrain we would be facing on our way to the 3rd bump:
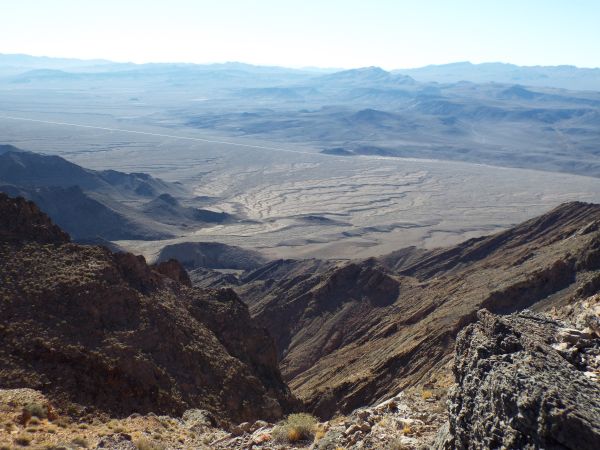
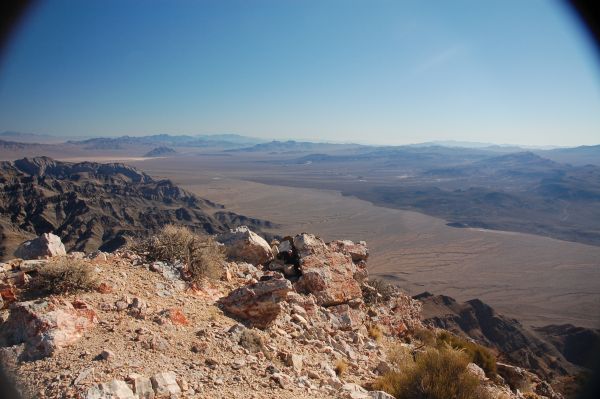
The gap was now nearly 1,400 feet below us in elevation:

Tobin pictured at the 2nd bump before beginning the steep climb:
Several times, we passed by side canyons that probably have massive drop-offs just out of view:
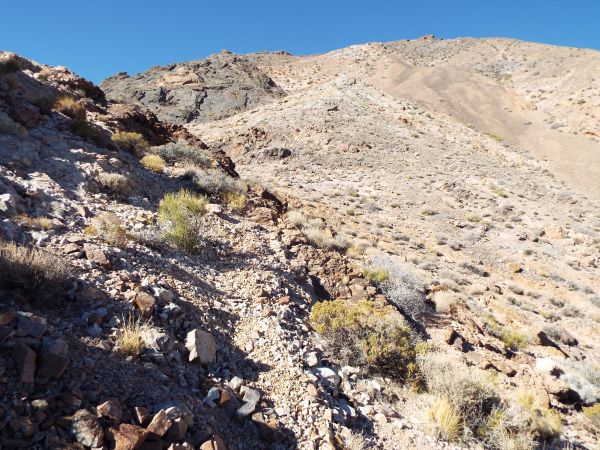
An informal use trail can once again be found most of the way between the 2nd bump and 3rd bump:
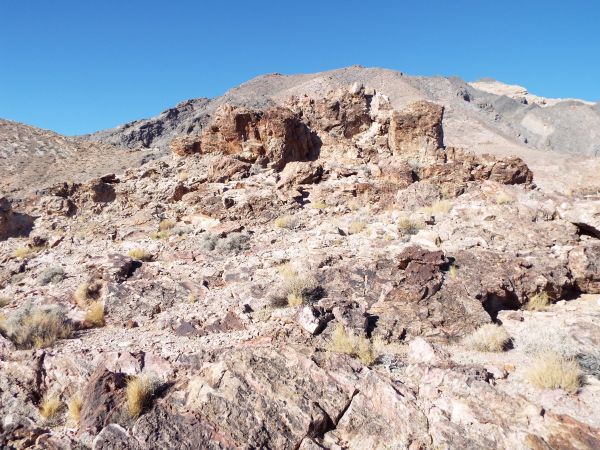
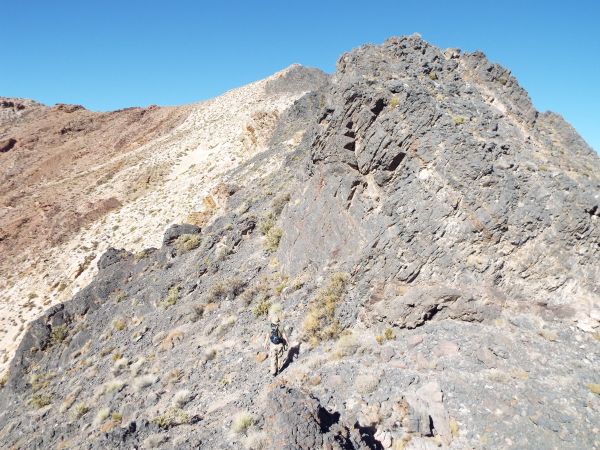
The terrain through here is very rugged and unforgiving. Many of the solid rock sections are sharp to the touch and can cut you easily:
Looking down a steep side canyon back toward Hwy 190:
Zooming in on a view of Ryan BM (center peak) and Funeral Peak (peak on right side in background range):

Steve climbing over a mini-bump with the Funeral Mountains Wilderness Area in the background:

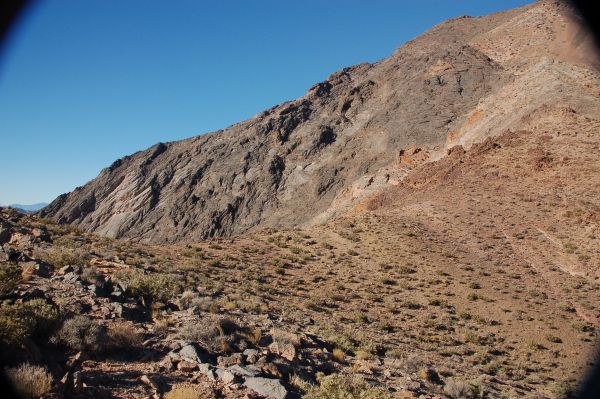
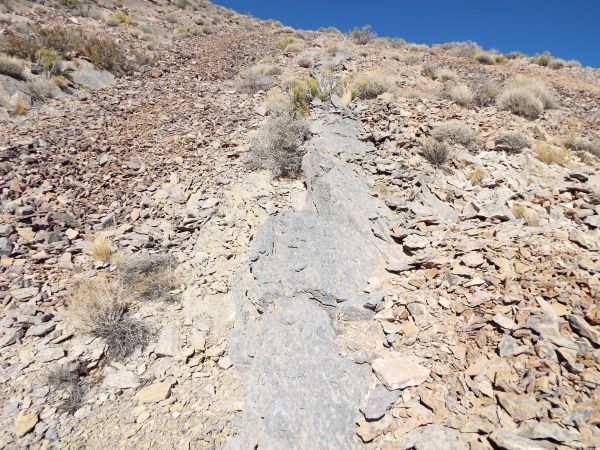
A faint trail continued working its way through the shale:
Tobin up above showing how the terrain through here is very steep:

Checking out the time stamps on my pictures, the climb from the 2nd bump to the 3rd bump took over an hour:

We often had to choose between hiking up loose shale or climbing up solid rock:

Another view across into Amargosa Valley:

Shale really begins taking over the entire hillside:
Bat Mountain (4,950 feet) finally makes an appearance once you have gained enough elevation. Bat Mountain is the distant circular peak on the right side:
The trail abruptly turned to the left and headed into a small gully just to the right of this solid rock outcropping:
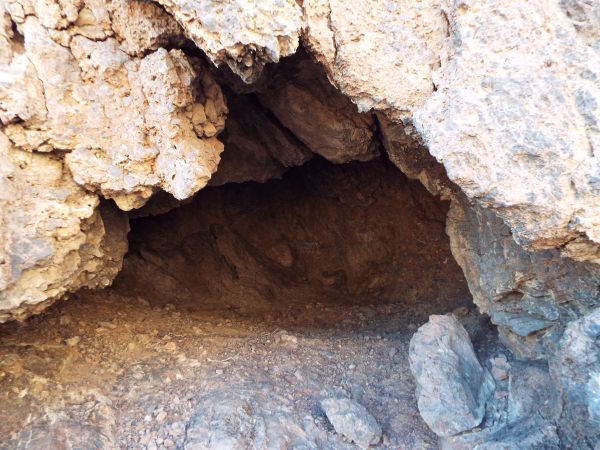
At the top of the gully were the two caves seen in the next two pictures:

Looking back down the gully we had just climbed up. The gully was quite steep and we had to take it slow:
In the next two pictures, we are continuing to climb up the shale slope:
Our elevation was getting so high now that we could nearly see over Bat Mountain and the rest of the Funeral Mountains Wilderness Area:

This picture shows how we could occasionally hike on sections of solid rock rather than sinking into shale:
We could almost always look back down on the 1st saddle and see how much progress we had made:

The unnamed peaks across the way continued to capture our attention with their colorful stripes:

Looking down, notice how I have been hiking on solid rock for a long ways which is directly next to a shale pathway on the left:

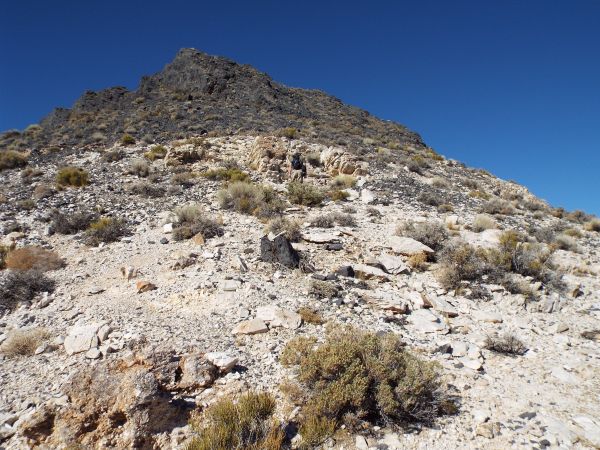
Just about to the 3rd bump now after a long and tiring climb through the shale:

Standing on the 3rd bump and looking ahead to the final section with the peak at the upper right:

This was our view of the Black Mountains. Mount Perry is just out of view about 1 1/4 miles to the left of the triangular peak on the left side:

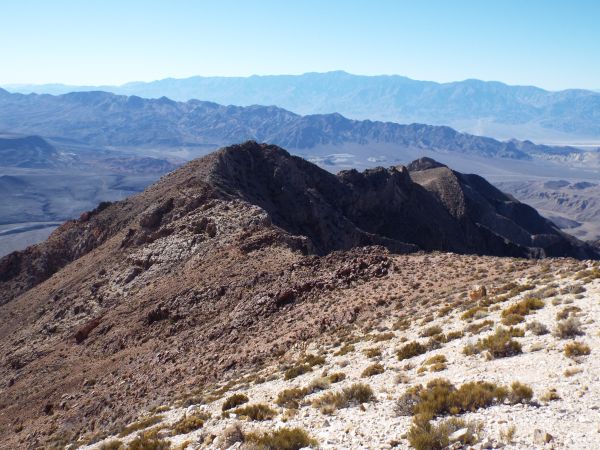
We started climbing again and then I turned around to take this picture of the 3rd bump:

The trail made its way through this section of steep rock and the hiking was a lot easier now that the shale was gone:

Beavertail cactus growing out of the rock high on the slopes of Pyramid Peak:

This section was mostly just a rocky slope with very few plants growing:

At this tricky spot, you can see how an use trail winds around the right side base of the large rock mound:

We finally arrived at the beginning of the infamous Crags section of the hike:
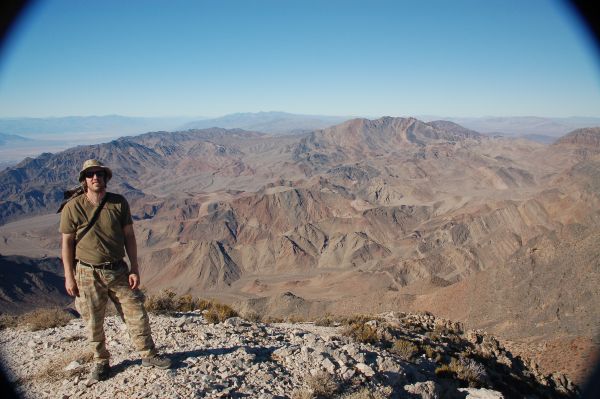
Steve with The Crags and summit of Pyramid Peak in the distance:

We climbed over the first few small sections of The Crags. And then we dropped down and headed to the left around the base of them:
An use trail guided us all the way around The Crags fairly easily. It would have been impossible (and foolish) to try to climb over them:

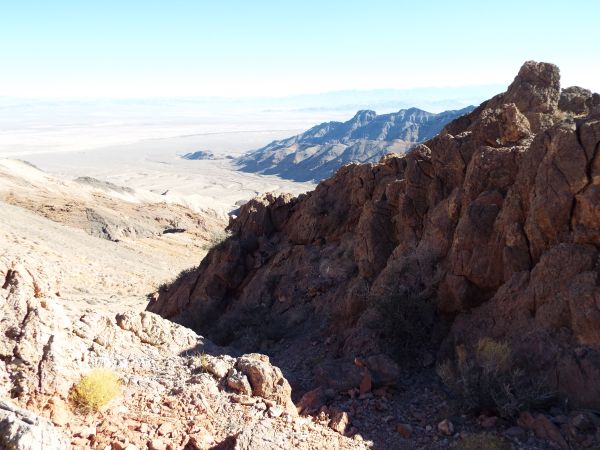
View looking straight down another very steep side canyon which drains the mountain:

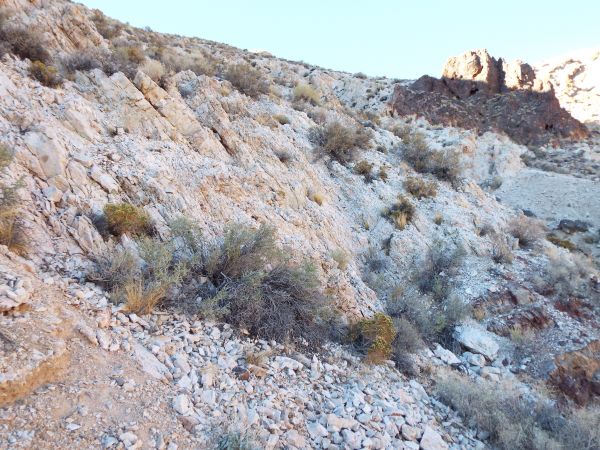
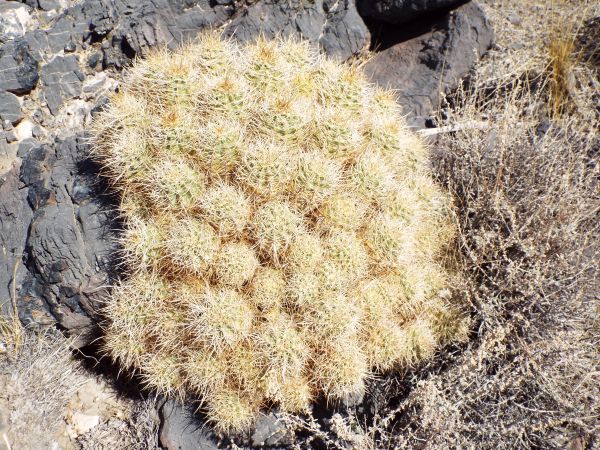
There was the quite the variety of cactus on this hike:
I took this picture because it reminded me a bit of the Great Sphinx (right side) and Great Pyramid (left side) of Egypt. This is Pyramid Peak, after all:

Tobin looking ahead to the summit after we successfully bypassed The Crags:

Tobin's view of the summit from where he was standing:

All of the difficult portions of the hike were now over. We just had one final short section to climb:
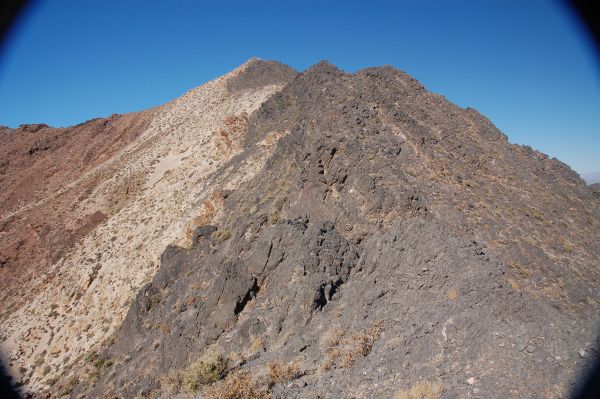
The next two pictures show how the path moves from the light-colored rock into the dark-colored:

Looking back at The Crags, which look very difficult from a distance:

The summit was now directly ahead:

Arriving at the top of Pyramid Peak after quite a journey:
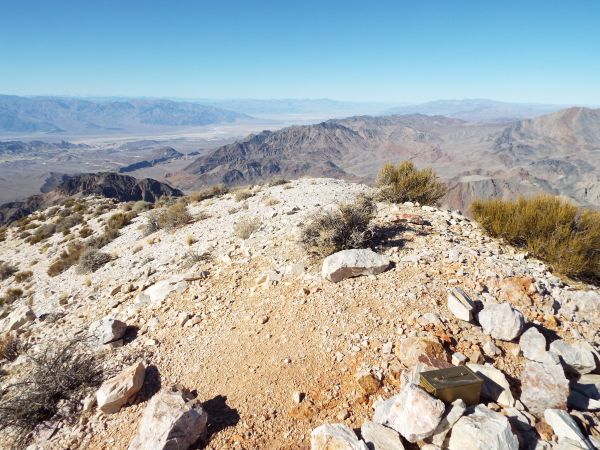
Summit benchmark with the words Pyramid Pk:

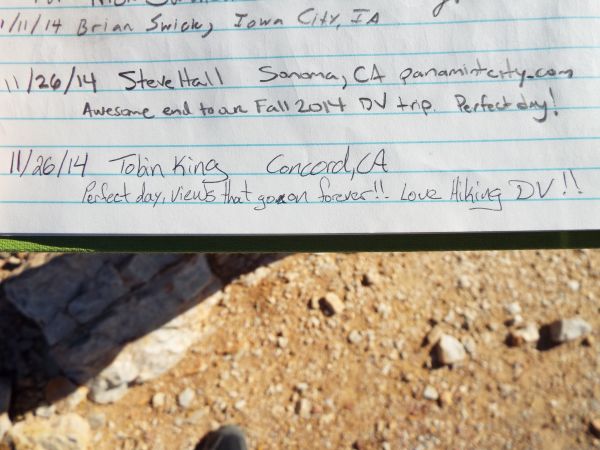
Our two entries at the end of the summit register book:
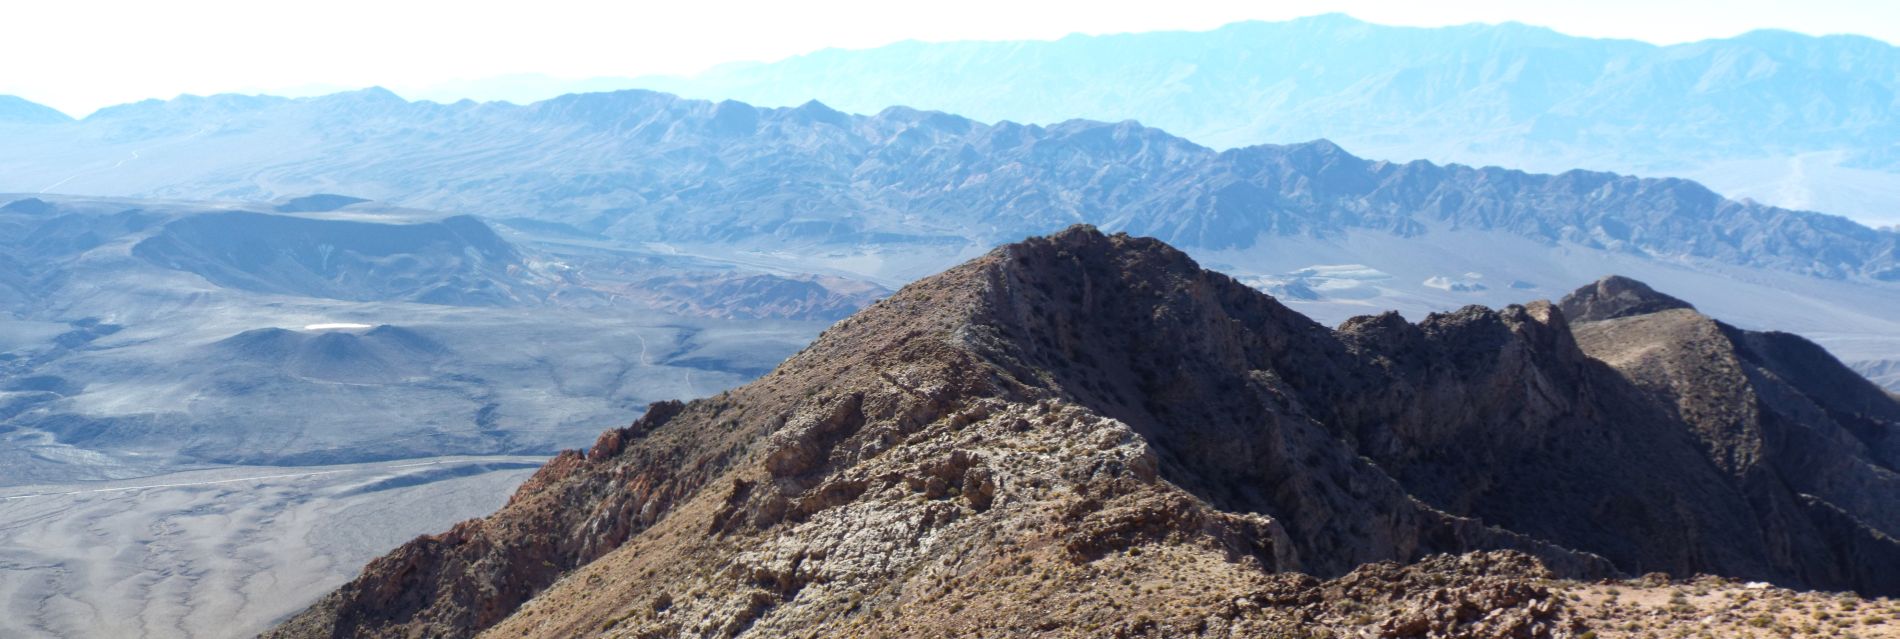
This view to the west from the summit shows the climbers' western ridge route:
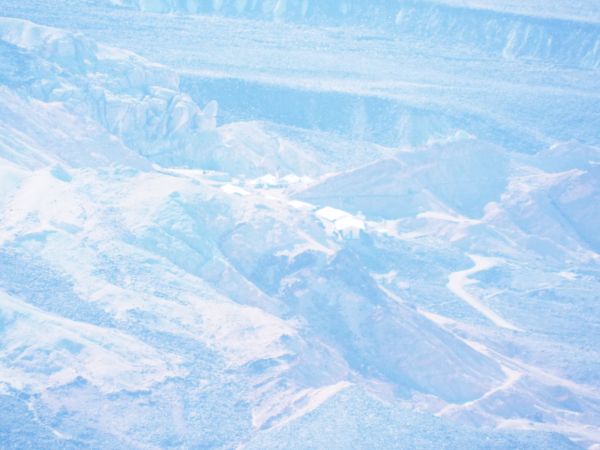
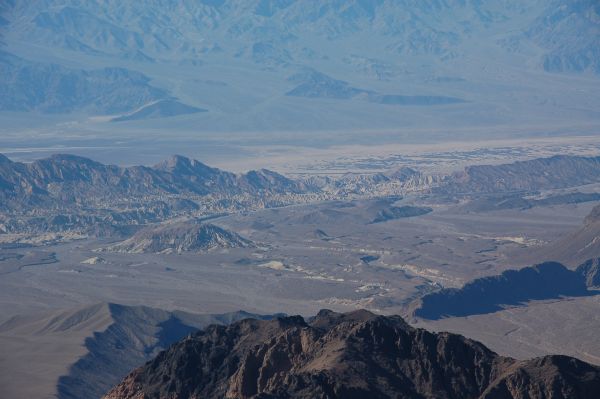
The first place I zoomed in on from the summit was Ryan Company Town. The buildings are clearly visible here:
This shows Dante's View Road winding up the backside of the Black Mountains:
Left to right, that's Telescope Peak, Bennett Peak, and Rogers Peak:

A close-up view of Telescope Peak as seen from Pyramid Peak:

This view is taken looking directly to the west:

Zooming in a little closer at the area of badlands in between Borax BM and Manly Beacon (both of which are not pictured):

Manly Beacon can be seen here (if you know exactly where to look) along with Furnace Creek:
An incredible view of Hole-In-the-Wall from the summit:

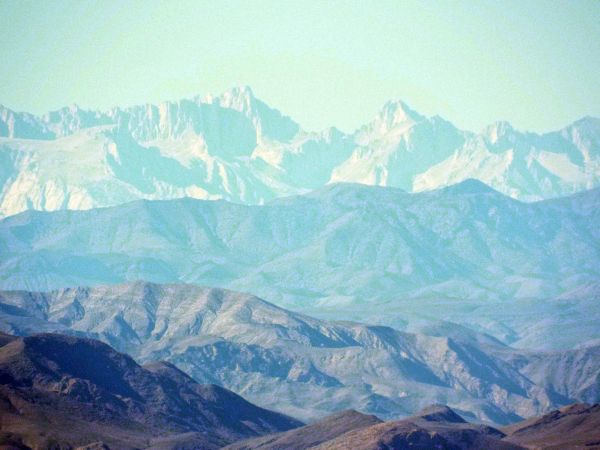
The sky was so clear that we had a perfect view of the Sierras:

The left peak is Mount Whitney, which is approximately 95 air miles away. The peak on the right is Mount Russell:
View showing Tucki Mountain:
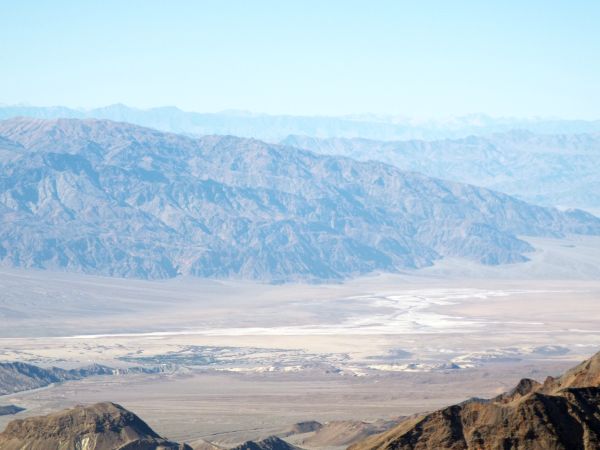
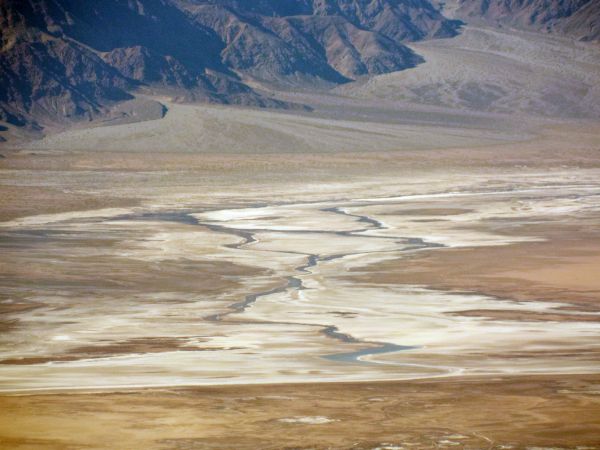
Zooming in for a closer look at Cottonball Marsh:
Looking to the northwest at the Cottonwoods:

Steve photographing the Grapevines while Tobin takes a picture of central Death Valley:

Far away in the Grapevines, we had a nice view of Grapevine Peak (left) and Wahguyhe Peak (right):
I didn't think it was possible to make Thimble Peak look small, but check out this shot of Mount Palmer (right side) towering over Thimble Peak (just below it to the left slightly) as seen from Pyramid Peak:

Looking due north at Schwaub Peak (center) and P6015 (right):

Zooming in on the gorgeous color bands of Schwaub Peak:

A nice picture showcasing P6015:

View to the northeast showing a colorful area of the range:

Looking to the east out into Amargosa Valley:

The crop circles out in Amargosa Valley seem to be the most distinct landmarks:

In the center, Skull Mountain, Nevada can be seen:

A nice view of Bat Mountain (the rounded peak on the right side of the Funeral Mountains Wilderness Area range):

Looking to the southeast from the summit:
At the middle left is the summit of Eagle Mountain. We noticed in the Pyramid Peak log book that several hikers had done both Eagle Peak and Pyramid Peak in the same day:

Steve with Schwaub Peak in the background:

View showing central Death Valley behind me:

Tobin with Schwaub Peak and the northern Funeral Mountains:
Tobin with Bat Mountain and the Funeral Mountains Wilderness Area to the southeast:

After getting all the pictures we wanted, we descended back down to the 1st saddle. We are now heading down the frontside route to test it out:

The frontside route did have some challenging spots but good navigation was the key to making things as easy as possible:
Eventually, we made it to the bottom and took a moment to rest:
This old barrel was sitting in the wash at the bottom:

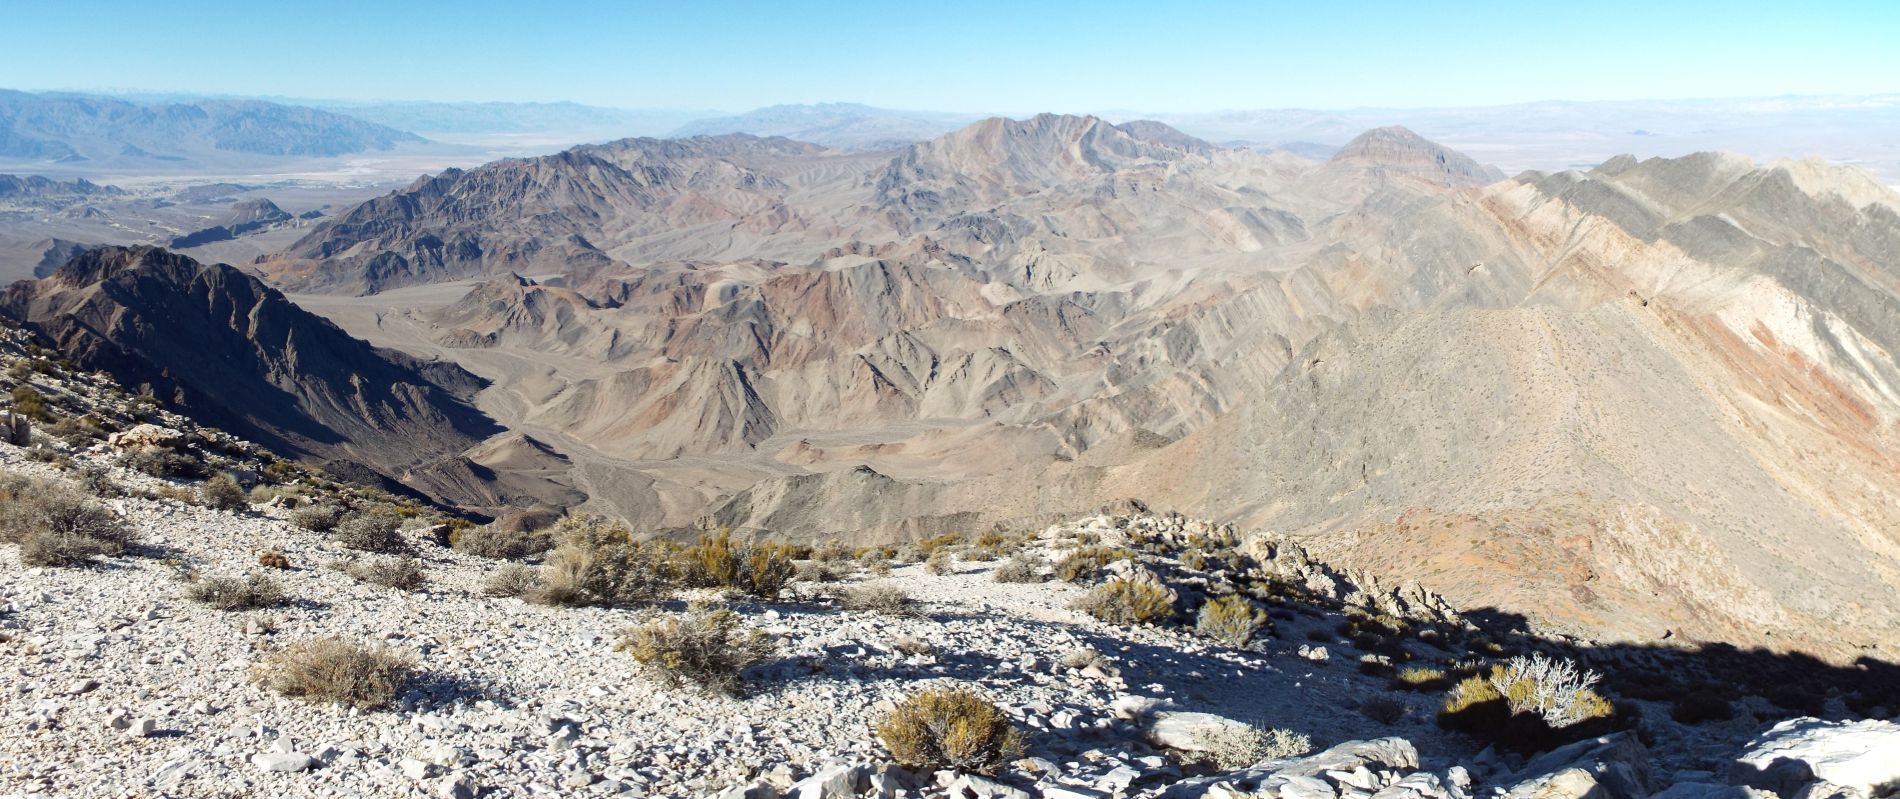
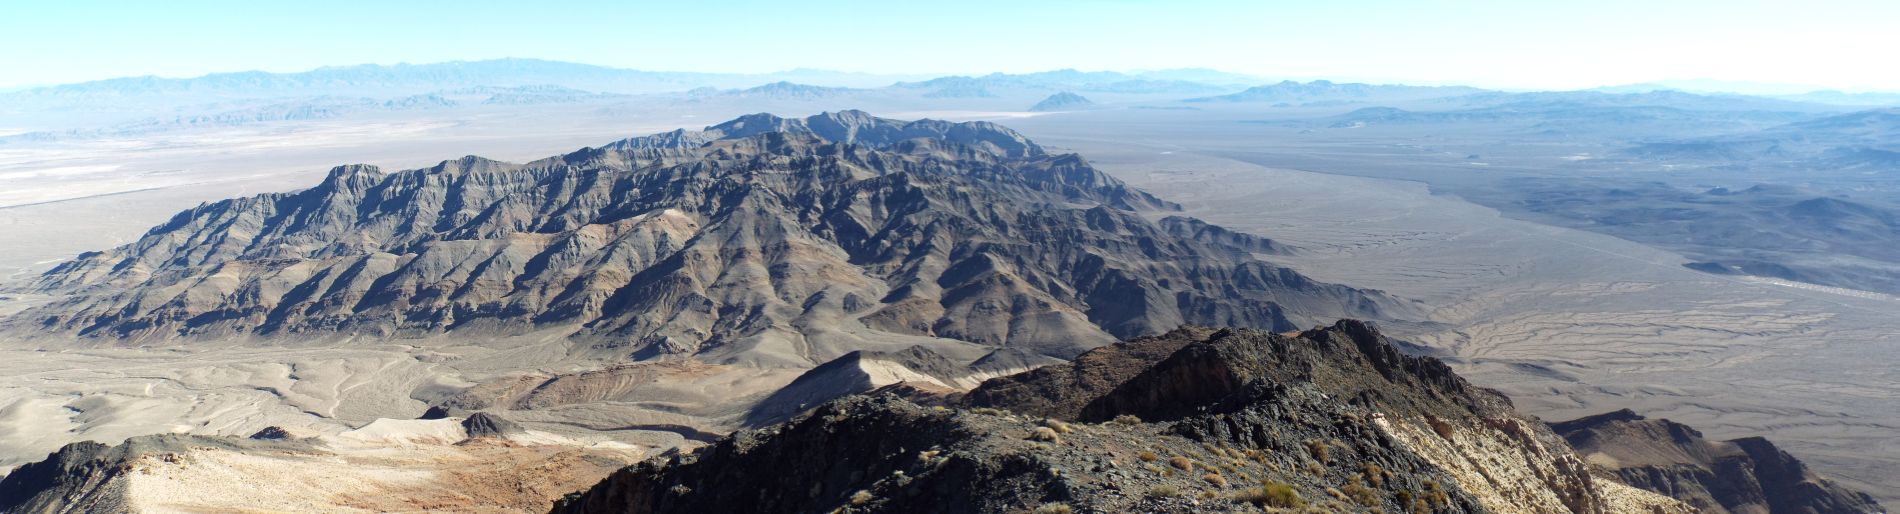
Our report on Pyramid Peak concludes with three panoramics taken from the summit (click to enlarge):