


TRIP REPORT PHOTOS
At the mouth of Forbidden Canyon somewhere at the base of Tucki Mountain:

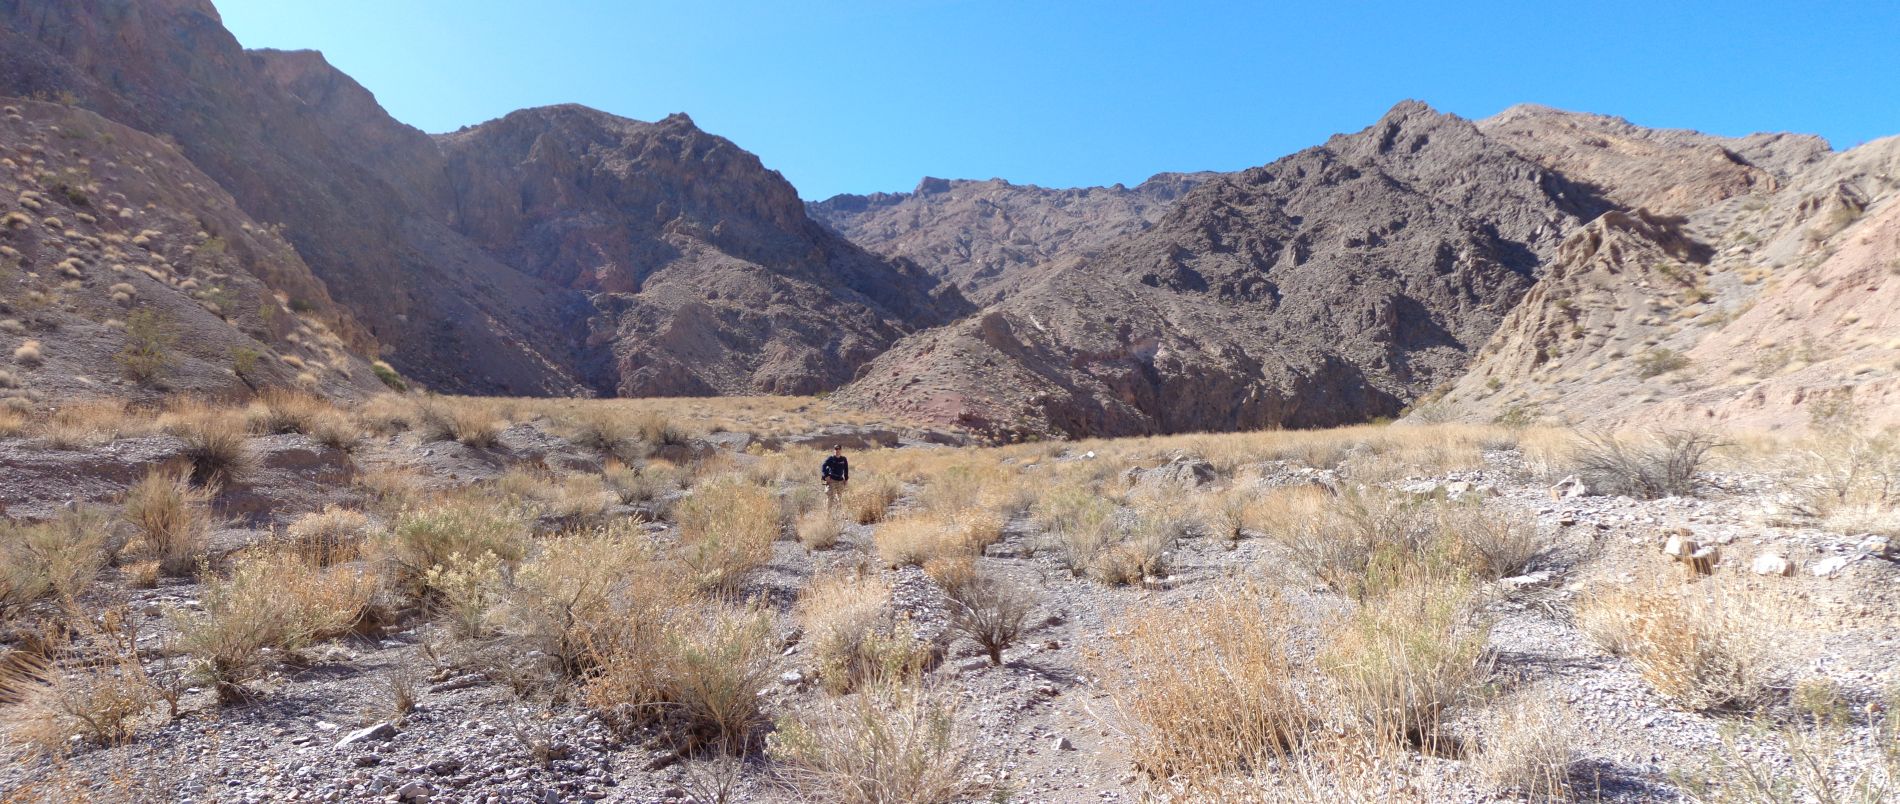
The beginning of the canyon has small banks on each side:


A towering wall of rock takes shape right away:
It took us 2 1/2 hours to reach this spot, which is 5 1/2 miles from where we parked:


Immediately we noticed this gully heading up to the right. This is the bypass of the Forbidden Canyon 1st major dry fall. The bypass is a matter of trial and error as it requires heading a ways up the gully and then testing different routes to safely reach the ridge to the left:

Leaving the bypass gully behind, we continued up the canyon:

The canyon walls on the left side are streaked with colors:
We turned a corner and there it was, the 1st major dry fall:


It is about 80 feet tall with a beautiful circular shape in the rock at the top above the falls:
Steve approaching the base of one of Death Valley's most spectacular dry falls:


From this angle closer to the dry fall, you can see that there are actually two chutes:
Zooming in on the circular top of the dry fall:


One final picture of Steve at the base of the dry fall. All previous hiking groups that have reached this spot have assumed that getting past this major obstacle was forbidden:

But 30 minutes or so later, we found our way up to the ridge and are now looking over the other side:
Tobin walking along the top of the ridge looking for an easy way to drop into the canyon. We eventually found one:


The veil of secrecy was about to be forever lifted off of Forbidden Canyon as we reached the wash and started hiking down the 1st Narrows toward the top of the dry fall:

We checked out this cave and could see that a bat was living inside here:

Blue colored rock reaching down into the canyon:

Approaching the end of the short narrows and gorge section:

Looking over the edge, we could see some spectacular slot narrows:

In order to get inside these slot narrows, a rappel would be necessary:

Instead, we walked over to get a view out to the area where the dry fall pours over:

With that, it was time to turn around and head farther up Forbidden Canyon to see what other discoveries would await us:

Hiking back up the 1st Narrows with towering peaks above us:

Almost to the area where we dropped in on the bypass:

Here we are looking back at the bypass into this side of the canyon:

Looking ahead, it is evident that Forbidden Canyon is going to be wide open for quite a while:

One of the key aspects of this canyon was that it had extensive plant growth in the wash:

It also had pretty hillsides with a variety of scenery on display:

Passing by the 1st side canyon. I would explore this on the way back out:

For over one mile, we headed towards a major bend in the wide canyon:

More loose rock hillsides and rugged cliffs above us:

A small bank rose up on the right side of the wash:

Off to the left, we spotted a neat red double dry fall:

Getting closer to the major bend up ahead:

Here we have turned the corner and are looking back:

Looking farther up the canyon. Notice, once again, the large amount of bushes in the wash:
Fluted mud cliffs with a small cave in the middle:


Although it is a very wide canyon, we were very impressed with the scenery here. So much color and so much variety:

Patches of white up on the right hillside:

The top of the canyon wall is 1,000 feet above the wash right here:
A panoramic showing the junction of Forbidden Canyon and its 2nd side canyon to the left (click to enlarge):
Up ahead, the canyon began narrowing down once again:


We entered into the short 2nd Narrows:

These are shallow narrows with a few quick turns and tight spots:

This is definitely a pretty area that we enjoyed seeing:

We emerged from the 2nd Narrows to find that the canyon was much narrower overall:

But again, very colorful and interesting to check out:

Here is an example. Notice the sections of orange and red rocks:

Looking back, the 1,000 foot high cliffs continued to dominate the landscape:

Heading toward the 3rd Narrows in the distance:

Another view as we got closer and had great expectations:

I love this picture showing the long curved canyon wall with the dramatic cliffs in the background:

We turned a corner and were stunned to find a 2nd major dry fall:

Steve snapping a picture of the 50 foot dry fall:

This 2nd dry fall and the 1st dry fall are two of the canyon highlights:

A picture of Steve at the base of the 2nd dry fall:

A shocking sight that we walked up on. A recently deceased Kit fox in its final resting place at the base of the 2nd dry fall:

A close-up of the Kit fox. You can see why we wondered if it was just sleeping. It hasn't been dead very long:

A close-up of the face and red fur on the neck of the poor fox:

Zooming in on the upper portions of the dry fall:

With that, we began circling around the dry fall to the right searching for a bypass. Would we be forbidden from seeing any more of this very special canyon?:

At the beginning, the bypass was very easy going. Our hopes were high:

But when we got up to the top of the bypass ridge, things started to look a bit steep as we looked back down on the top of the dry fall:
Notice how these slopes heading down are nearly vertical:


It looked like the only way to get down would be to follow close to the rock edge just above the dry fall. But it was too steep, so we called off the hike:

Here was the best view we had looking farther up the canyon. Forbidden Canyon had forbidden us from going any further. And it was too bad, because it appeared that the best narrows were just ahead. But safety always comes first:

Steve getting a picture in front of the 1,000 foot cliffs on the way back:

A while later, we arrived back at the 1st side canyon. It was time to explore it:

The 1st side canyon was very narrow which was in great contrast to the wide open main canyon:

It looked like we were approaching some colorful hillsides ahead:

Sure enough, a grand display of white and red colors could be seen:

If you look way ahead in the side canyon, you can see that it gets extremely steep and impassable at some point:

Two more pictures as we passed by the colorful section:


Big surprise. A dry fall was up ahead waiting for us:

This dry fall wasn't that big but it was too high to climb:

I found an easy way to get past this dry fall on the right but stopped here and headed back:

Heading back to the 1st bypass in the distance down the main canyon:

Tobin pointing up at the bypass route which is easy to follow to get back on the ridge:

Once on the ridge we needed to find our way back down to the gully on the other side:

Steve heading down some steep terrain on the other side of the bypass:

Final leg of the bypass with the gully in the distance. With that, it was time to bid farewell to Forbidden Canyon. We would carry with us the lesson of the Kit fox on all of our future Death Valley hikes- be careful around dry falls and ledges:
